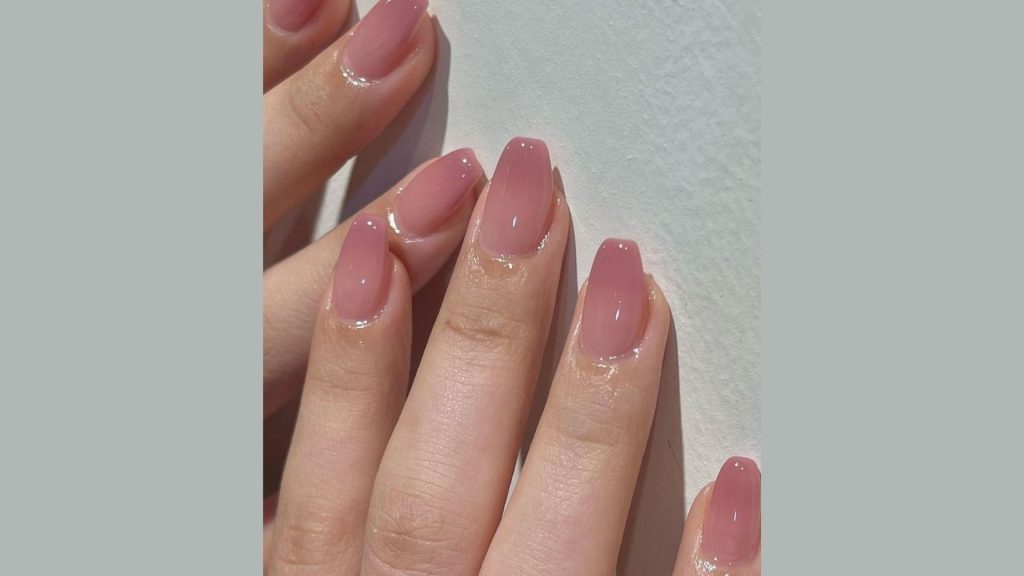
Achieving salon-quality nails at home is easier than you might think! With just a few simple steps, you can have beautiful, well-manicured nails without leaving your house. Follow this guide to discover the secrets of professional-looking nails.
Step 1: Gather Your Tools
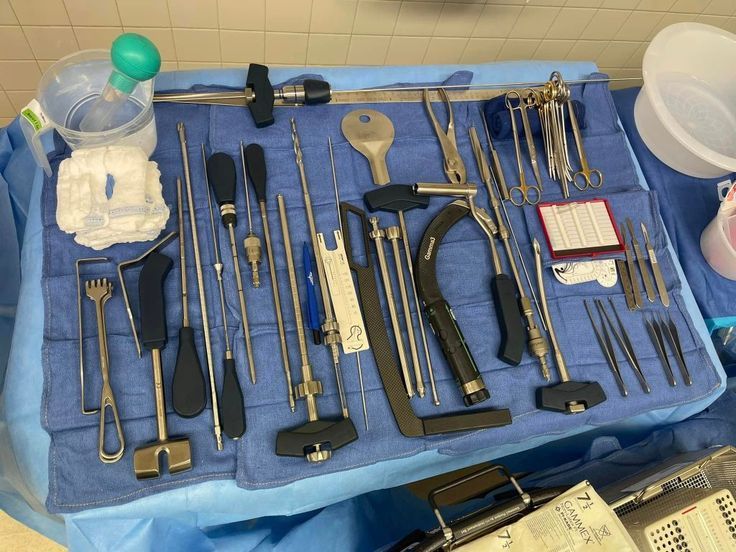
Ensure you have all the necessary tools: nail clippers, a nail file, a buffer, a cuticle pusher, and a quality nail polish remover. Having everything at hand will make the process smooth and enjoyable.
Step 2: Remove Old Polish
© Pinterest.com – LOOKFANTASTIC
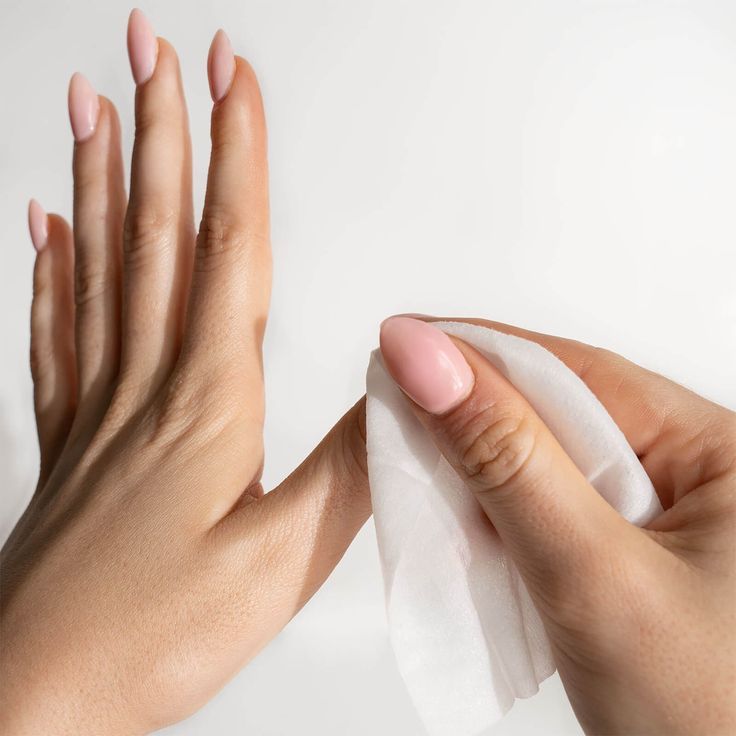
Start by removing any old nail polish using a cotton pad and a gentle nail polish remover. This is a crucial step to prepare your nails for a fresh coat and avoid any uneven surfaces.
Step 3: Shape Your Nails
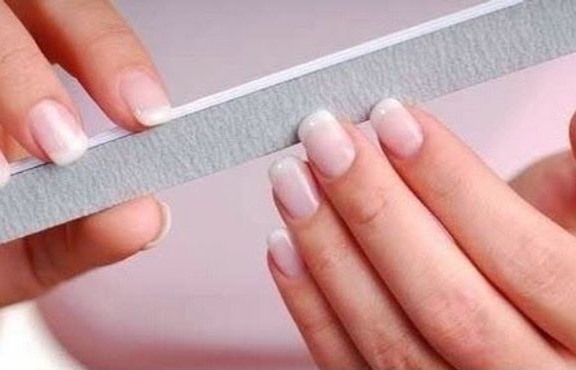
Use a nail file to shape your nails to your desired length and style, whether it’s square, oval, or almond. Remember to file in one direction to prevent splitting.
Step 4: Soak and Soften
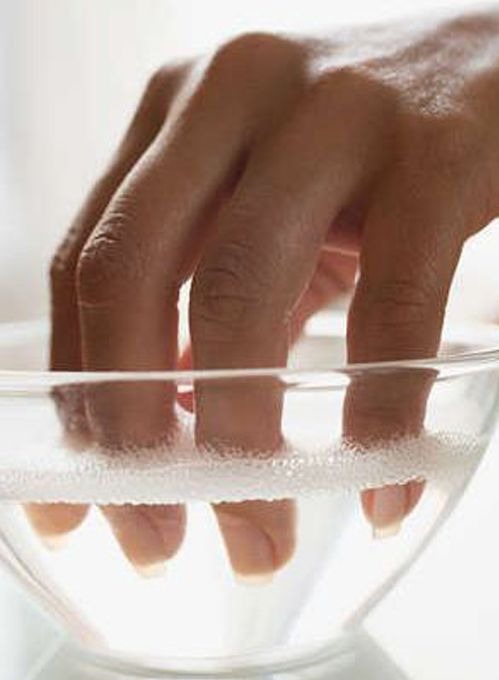
© Pinterest.com – Ratan Ayurvedic
Soak your nails in warm water with a few drops of essential oil for about 5 minutes. This will soften the cuticles and make them easier to manage, adding a touch of spa experience to your routine.
Step 5: Care for Your Cuticles
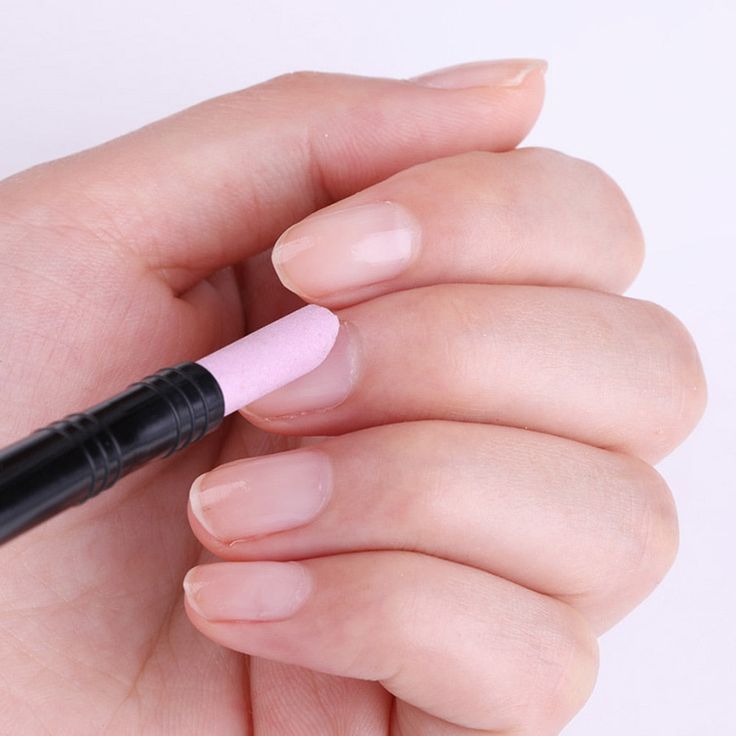
© Pinterest.com – NSI Australia Nail Supplies
Gently push back your cuticles using a cuticle pusher. Avoid cutting them, as they are there to protect your nails. Apply cuticle oil to keep them moisturized and healthy.
Step 6: Buff Your Nails
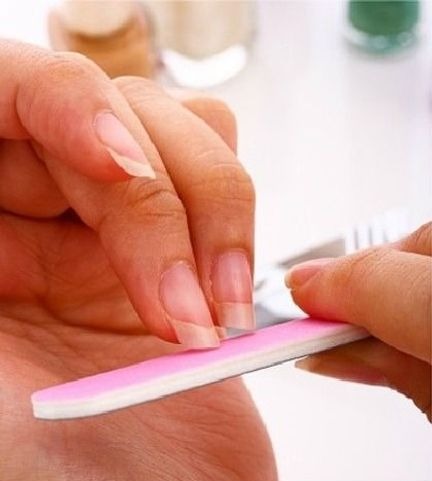
© Pinterest.com – Stylecraze Nail Art
Buffing your nails will create a smooth surface for your polish and enhance shine. Use a four-way buffer and gently glide it over the nail surface, focusing on any ridges.
Step 7: Apply Base and Polish
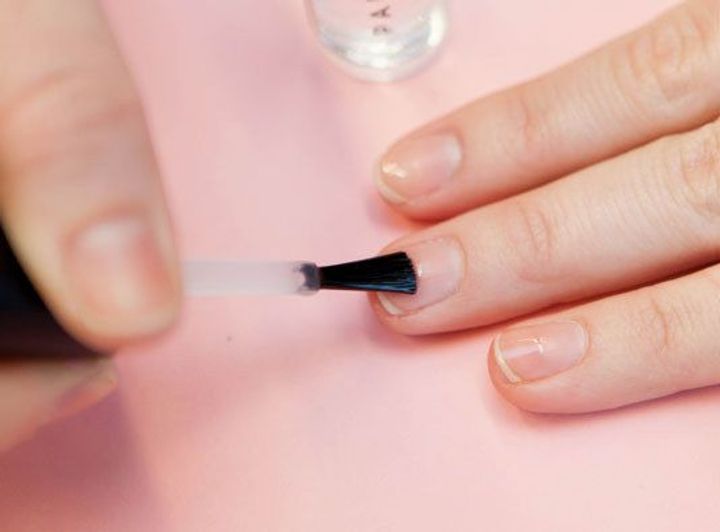
© Pinterest.com – BuzzFeed Shopping
Apply a base coat to protect your nails and extend the life of your polish. Follow with your favorite nail color, applying two thin coats for the best result. Allow each coat to dry thoroughly.
Step 8: Seal and Protect
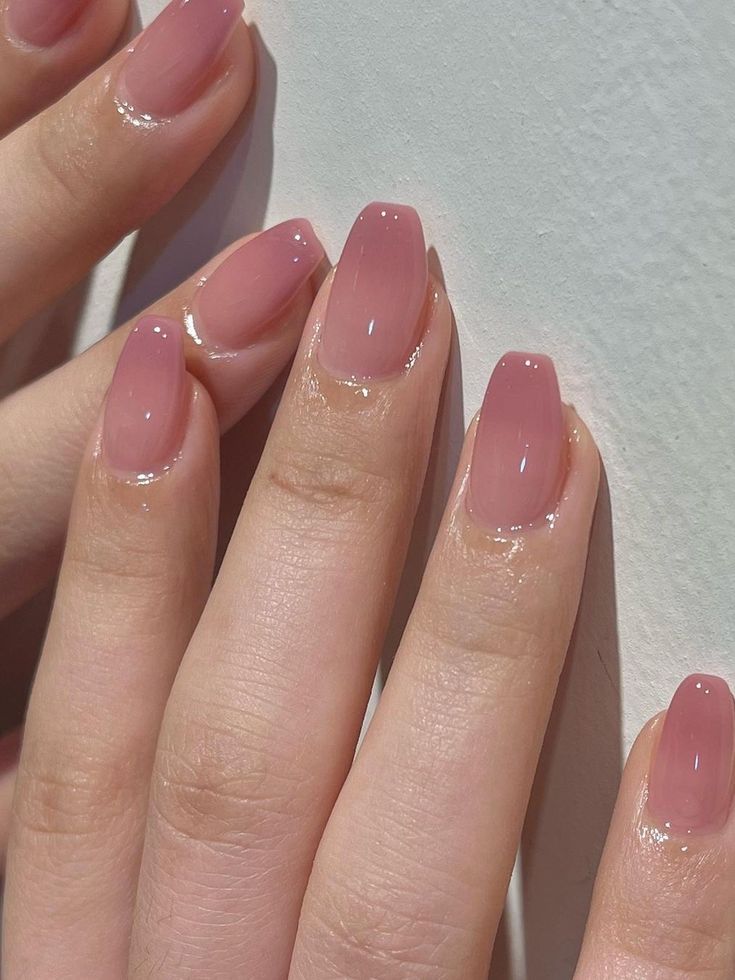
© Pinterest.com – Everygirl Edit
Finish with a top coat to seal in your polish and add an extra layer of shine. This will also protect your manicure from chipping, keeping your nails salon-perfect for longer.


